
Urban Sketching for Complete Beginners: Your First 30-Minute Alley Sketch
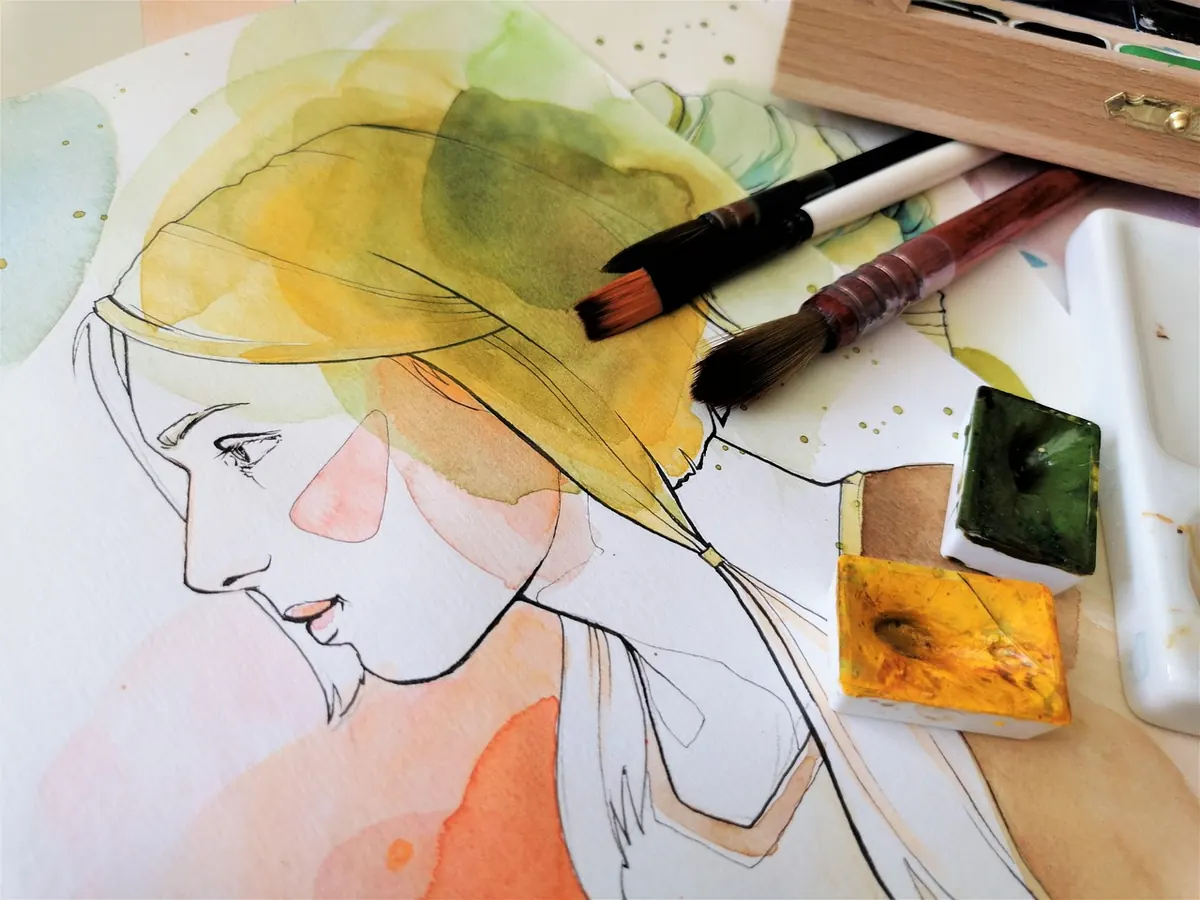
There is a particular kind of alley that makes a beginner's sketch look good. Narrow, quiet, one wall catching light while the other sits in shade, a doorway or two, a drainpipe, and a thin strip of sky at the top. You do not need talent to draw it. You need thirty minutes, a pen that does not rub out, and the willingness to leave a few mistakes on the page.
What follows is a full first lesson. Read it once, then go outside and follow the clock. Thirty minutes is not a limit on quality; it is protection against the part of your brain that wants to keep fiddling with the same window frame until the light has gone.
Why an alley is the best first subject
Alleys are generous to beginners for reasons that have nothing to do with how picturesque they are. They hold a limited amount of information. A wall is a big, simple shape, and big shapes are easy to place correctly. There might be a door, two windows, a bin, a step, a cable overhead. You can count the elements on one hand, which means you can finish.
They also have a built-in frame. The walls run off the edges of your page, the ground anchors the bottom, the sky closes the top. You never have to invent where the drawing stops. And unlike a market square or a bridge full of people, an alley mostly stays still while you work.
Compare that with your first instinct, which is probably the big church at the end of the street. Skip it. Save it for your twentieth sketch, when you have stopped panicking about proportion.
Choose your view in five minutes
Walk the alley once before you open the sketchbook. You are looking for a spot where three things are true at once: you can see the far end, there is at least one patch of light falling across a wall, and the whole view fits your page without turning your head.
If all three are there, sit down. Sitting beats standing for a first sketch — you are steadier, and you take up less space, so people walk around you instead of through your line of sight. If there is nowhere to sit, stand with your back to a wall so nobody approaches from behind.
What to leave out of your view
Avoid alleys where a parked car or a row of scooters sits directly in front of you. Vehicles are complicated, and they will eat twenty of your thirty minutes. Avoid the narrowest slot you can find: if the walls are only two metres apart, your drawing becomes a dark tunnel with no readable shapes. And be careful with harsh midday sun, which flattens everything into a single bright plane. Early morning or late afternoon light does half the work for you.
The kit, kept small
- An A5 sketchbook, hard-backed, so you can draw on your knee.
- One fine liner or fountain pen. Not a pencil — you cannot erase, so you stop hesitating.
- A grey brush marker or a soft pencil for one flat tone.
- Something to sit on if the kerb looks unpleasant.
That is the whole kit. A first sketch does not need watercolour, a folding stool or four grades of graphite.
The thirty-minute plan
Time pressure is the point. It forces decisions, and decisions are what a sketch actually is. Set a timer.
- Minutes 0–3: Settle, choose the frame, and draw a light rectangle just inside the page edges to hold the composition.
- Minutes 3–12: Block the big shapes. Wall planes, ground, sky, and the far end of the alley.
- Minutes 12–20: Commit the main lines — corners, roof edges, doorways, windows.
- Minutes 20–27: Add three clusters of detail and one flat area of shade.
- Minutes 27–30: Two quick figures for scale, date in the corner, stop.
Blocking shapes: draw the box before the door
Most first sketches fail here, and not because the drawing is inaccurate. They fail because the beginner starts with a door handle and works outward, so the walls end up in the wrong place and the door floats. Reverse it.
Find the vertical corner where the near wall turns into the far wall. That single line is the spine of your drawing. Then place three big shapes around it: the left wall plane, the right wall plane, and a shallow wedge of ground at the bottom. Add the sky shape last. Nothing else exists yet.
Now the angles. In an alley, the rooflines and the ground lines lean toward each other as they recede. You do not need a vanishing point for this; you need to compare. Hold your pen up against a cornice line and ask which way it leans relative to the edge of your page, and by how much. A slope of a few degrees is enough. Draw it lightly, look at it, adjust if it is wrong.
Keep this stage pale and provisional. Use the side of the pencil or the lightest touch of the pen. The far end of the alley should be noticeably smaller than the near end — if it is not, your drawing will look like a flat poster rather than a street. Get the box roughly right and the sketch is already two-thirds finished.
Confident lines come from speed, not pressure
Once the structure is down, switch to commitment. A wobbly line reads as uncertainty even when the shape underneath is correct, and no amount of added detail hides it. The fix is not pressing harder. Pressing harder makes lines heavier and slower, which makes them wobble more.
Draw each line in one movement, eyes on where the line is going rather than on the nib. For short edges use your fingers and wrist. For anything longer than a few centimetres, move from the elbow or the whole arm, keeping it loose. Hover the pen above the paper and trace the line twice in the air before you touch down. That small pause removes most of the shake.
Two habits worth building now
First, deliberately overshoot your corners. Let the vertical pass a millimetre beyond the horizontal instead of stopping short. Joined corners make a drawing look confident; gaps make it look unfinished.
Second, when a line goes wrong, leave it and draw the right one next to it. Two lines are honest and often more interesting than one perfect one. Scratching at a mistake with a pen only damages the paper and your mood.
Before you start the line stage, spend thirty seconds drawing twenty short strokes between two dots in the margin. It is a warm-up, not an exercise, and it settles your hand faster than waiting to feel ready.
Shade one wall, darken four spots, then stop
Pick a single direction for the light and stick to it. Shade only the wall in shadow, in one flat tone or with hatching all running the same way. Beginners tend to shade everything a little, which produces a grey page with no light in it. One shaded plane is enough to make the sunny wall look genuinely sunny.
Then find three or four places to go properly dark: the inside of a doorway, the gap under an eave, a deep window recess, the shadow beneath a step. These small darks give the eye somewhere to land.
Choose three clusters of detail and be specific about them — a door handle, a cracked patch of plaster, a loop of cable, a doormat, the hinge on a shutter. Leave the rest vague. Detail is a spice, and a sketch that is detailed everywhere has no focus.
For people, draw a soft vertical shape with a circle on top, from the shoulder, in about five seconds each. Two figures near the far end will give the alley its scale. Draw them where they are now, not where they were thirty seconds ago.
Your next thirty minutes
Sign and date the corner of the page, and write the street name small underneath. Then go back to the same alley within a week and sketch it again from a slightly different spot. The second version will be faster, and you will notice things you missed the first time — how the shadow line climbs the wall as the morning passes, which doorway is the darkest, how much of the drawing the sky was doing.
Keep the sketches in order. Progress is invisible across a week and obvious across a month, and the only way to see it is to have the evidence on paper. Do not go back and fix a disappointing drawing; draw the alley again instead. Ten sketches in, the wobbly lines stop bothering you and the blocking starts to feel automatic.
Photo: Mart_pictures / Pixabay